The Appointment booking page is for your clients to choose a time that works best for both parties, by allowing you to block out the days you are not available, searching your multiple Google calendars to remove any conflicts, which only leaves truly available time slots.
Note: Currently one google account per user per application is supported. Also, Internet Explorer and Edge are not supported for scheduling an appointment.
Steps to connect your Google Calendar
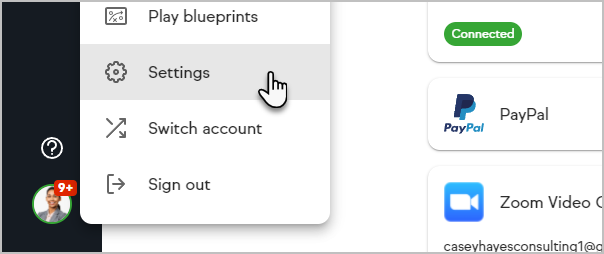
- Click on your avatar and choose Settings
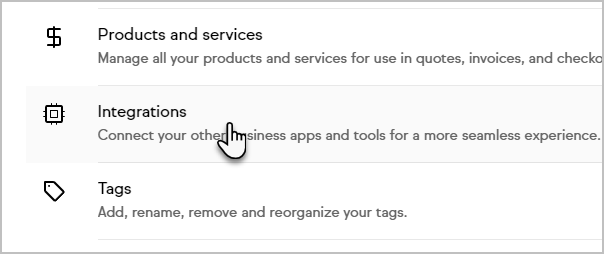
- Choose Integrations
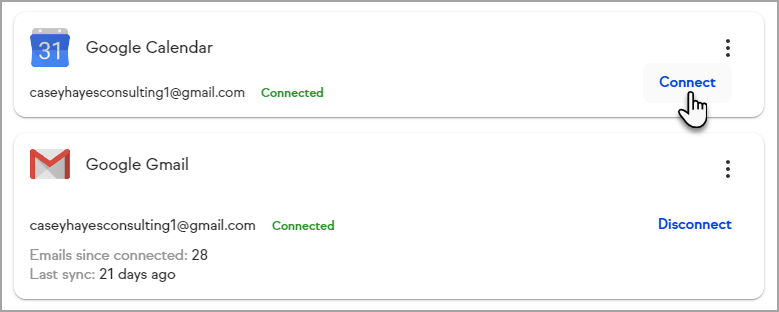
- Click Connect to sync your current Google account to Keap and follow the instructions. Note: If you are already logged into Google, you will see a list of logged in accounts.
- Choose the account that has the calendar you want to connect to Keap. Note: If you are not logged into your Google account in your browser, then you will be prompted to sign in with your Google username and password.


Click Allow to grant permission for Keap to manage your Google Calendar.
Note: Clicking Allow gives access to Keap to see Google Calendar events and display them within Keap's calendar. It also allows Keap to determine where you have openings within your Google Calendar to create new appointments.
From the confirmation window, click the Set up button to continue setup and create your first appointment type.
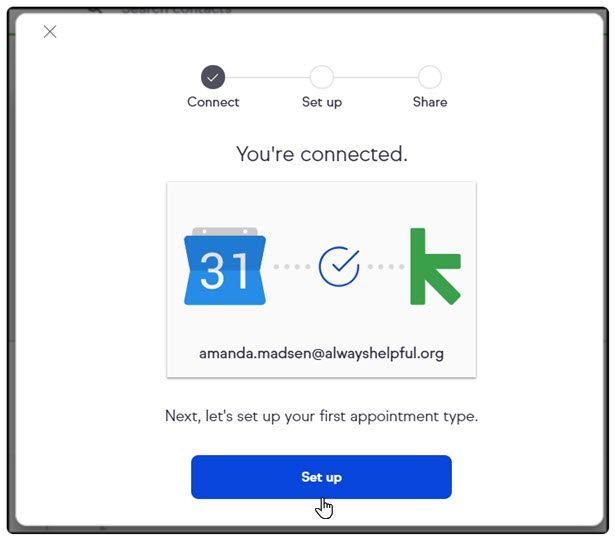

If you choose not to continue setting up your first appointment type, click the X in to the top left corner OR anywhere outside the window.
Note: You will be able to view your Google Calendar events, but will not be able to invite your clients to schedule an appointment until you have finished setting up the appointment type.
Additional steps when reconnecting a Google Calendar or switching calendars
If you have connected a calendar to Keap in the past and are reconnecting that calendar or a new Google Calendar, we recommend confirming your calendar is selected for all of your appointment types.
- Navigate to the My Day > Appointments

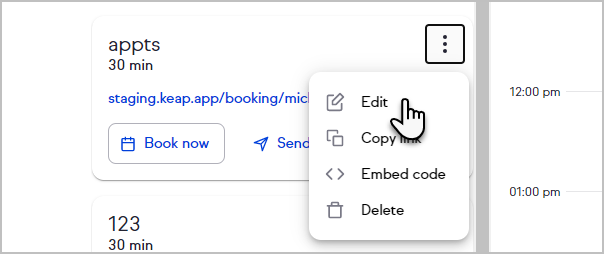
- Open the menu for an appointment type
- Select Edit
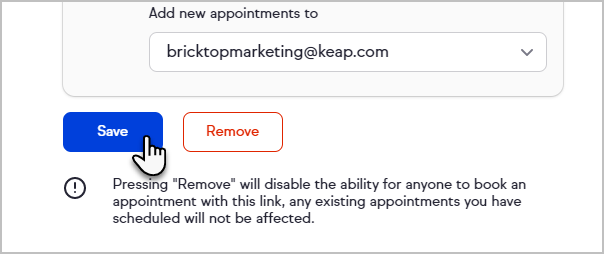
- Review your calendar settings at the bottom of the page and ensure the appropriate calendar(s) are selected for your availability and for Keap to add new appointments to
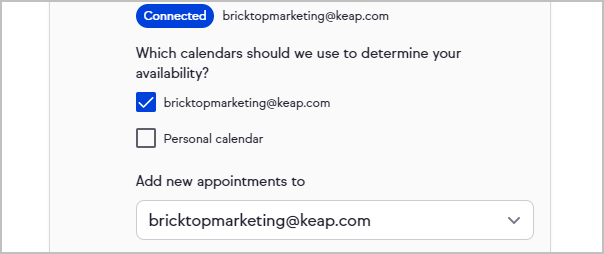
- Click Save