Whether you are creating an email broadcast or adding an email to an automation sequence, you will be using the Advanced Email Builder. In this guide we will review how to use the Email Builder to design professionally branded emails.
Customize the Email (Design View)
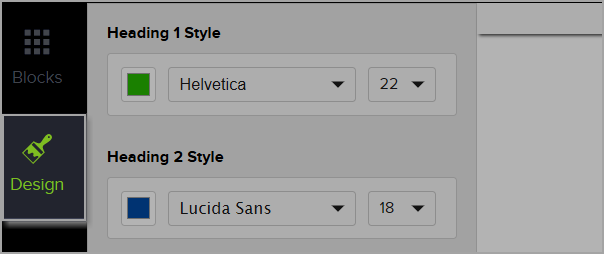
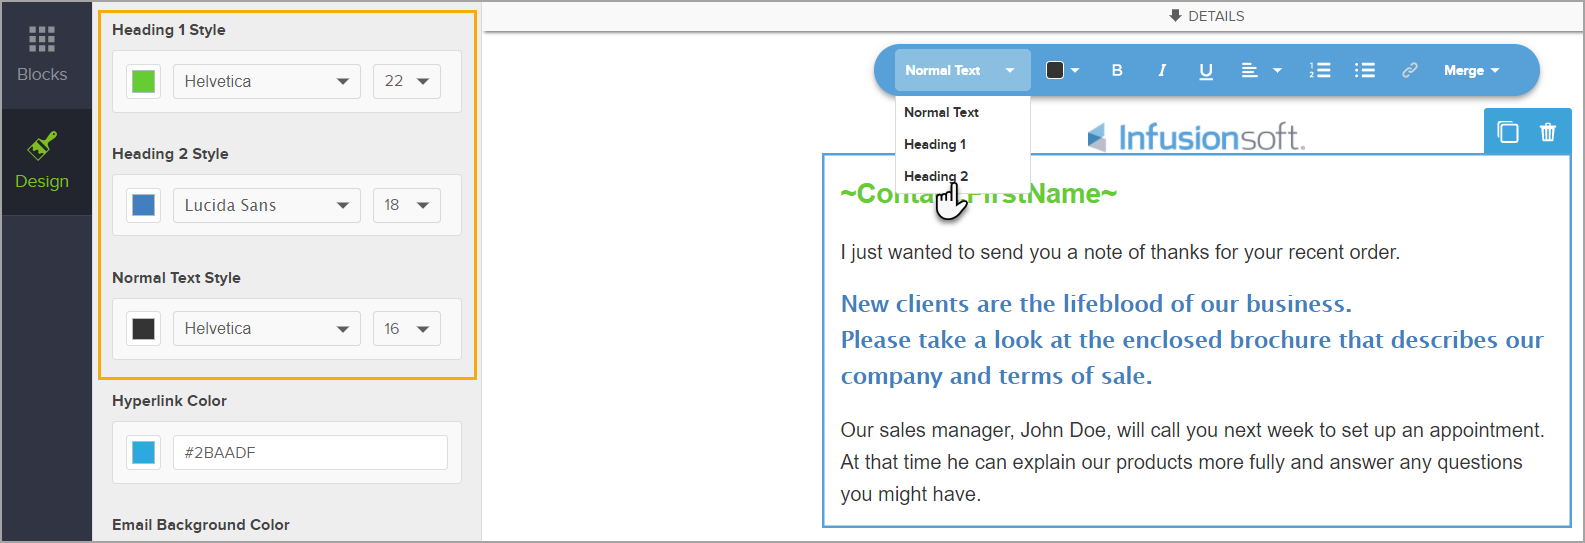
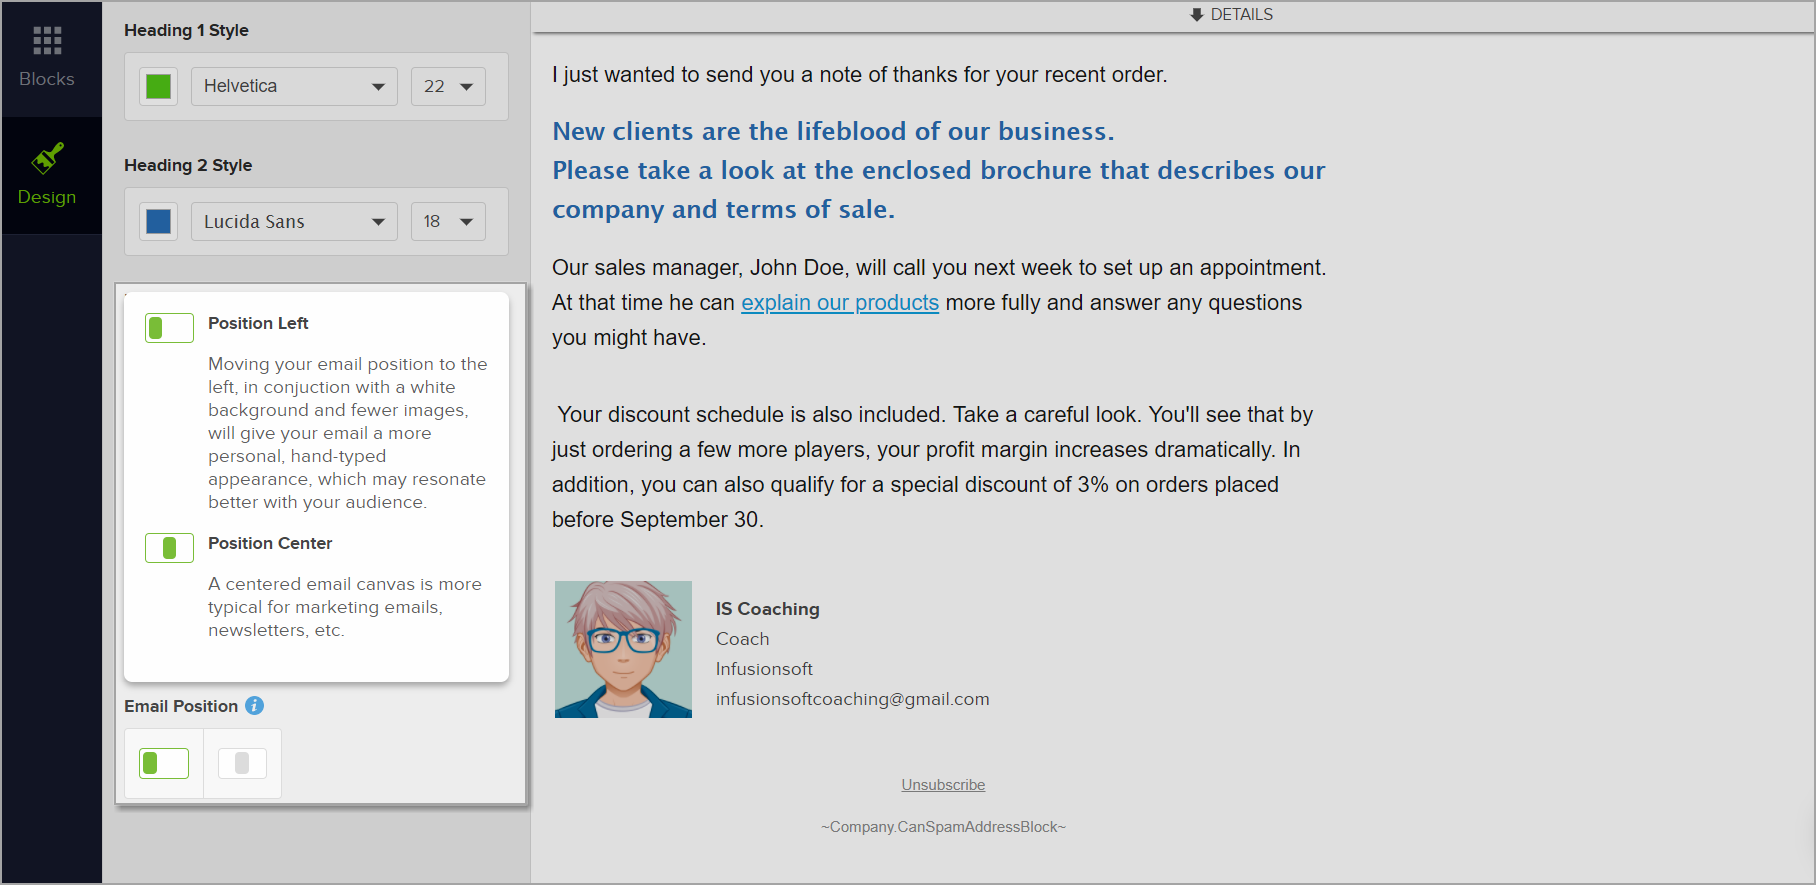
In Design View, you can style various attributes of the email. This allows you to configure the font, color and size of your text. Simply select which style from the Floating Text Bar.
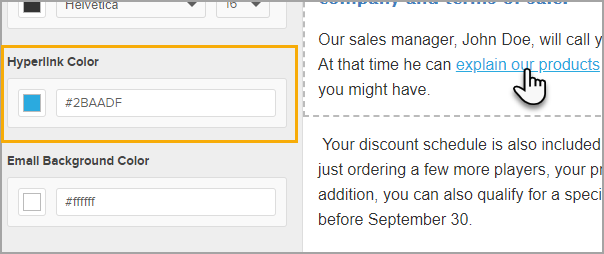
- Hyperlink Style: This allows you to format the color of hyperlinks in your email.
- Email Background Color: Changes the background color of the email.
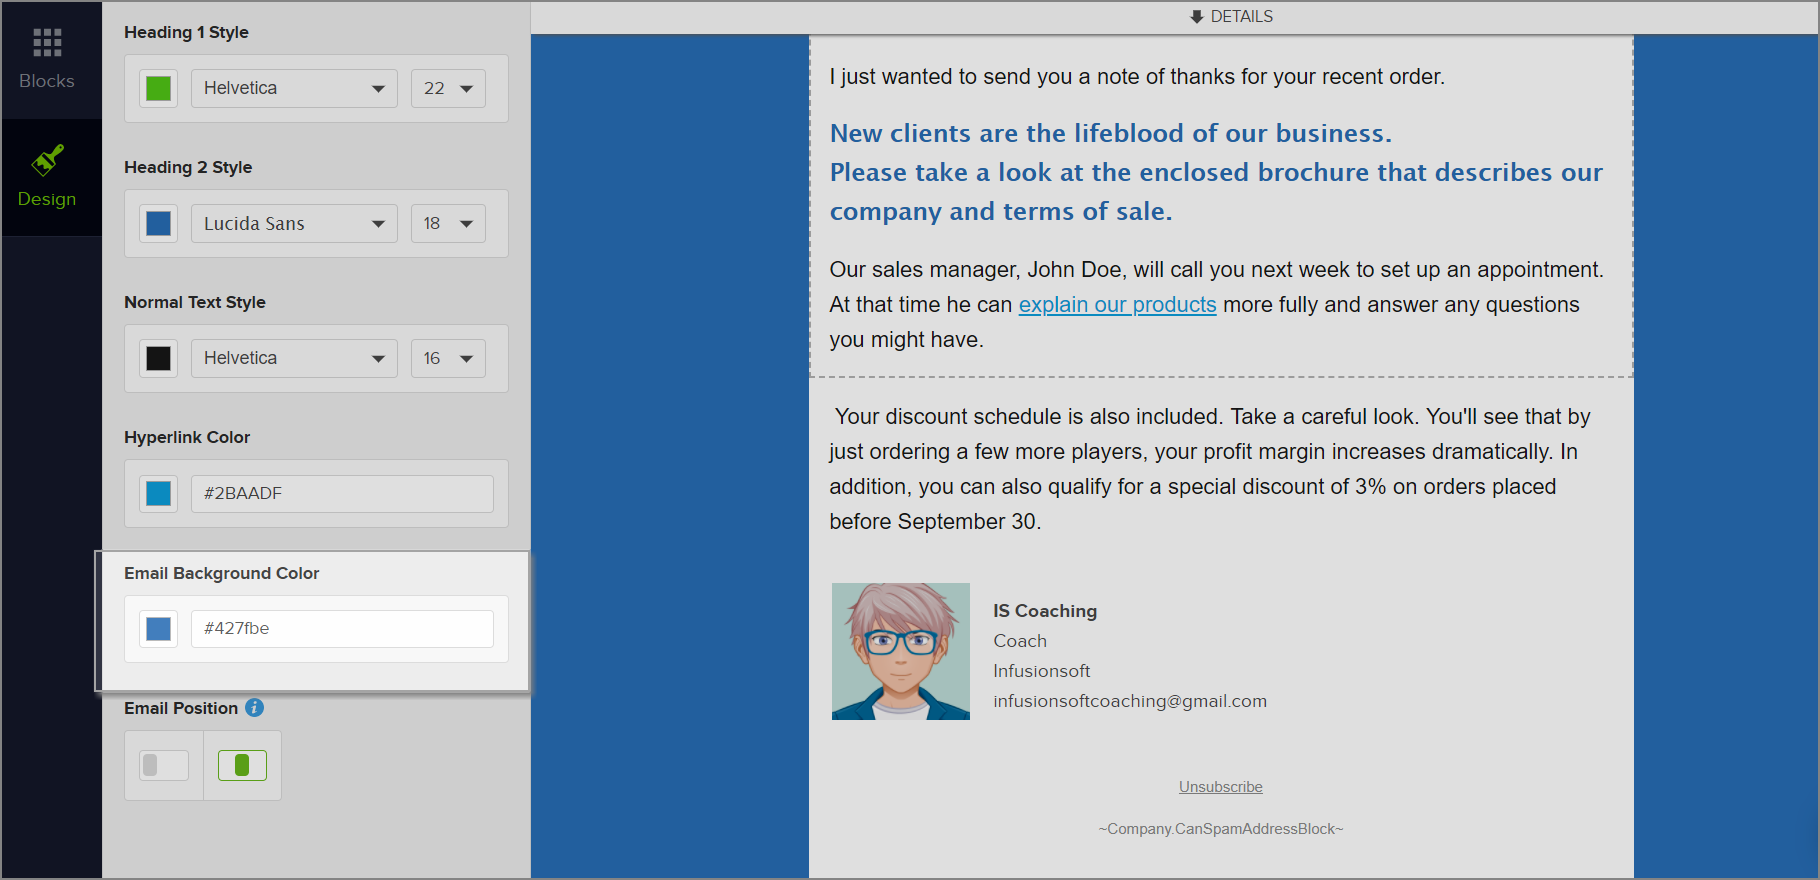
- Email Position: You can toggle the position to left-justified (this is more typical when creating a personal, "hand written" email style) or centered for a more professional look.
Customize the Email (Blocks)
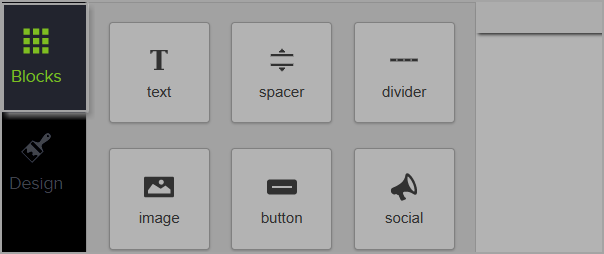
Click and drag blocks into your email to add new elements. To modify a block, select it and use the configuration panel on the left to make changes. For a Text block, just click inside the block and start typing.
- Text: Adds the most basic formatting for your text. Skip to Floating Text Bar for more information.
- Spacer: Allows you modify the spacing between blocks (both verticle and horizontal).
- Divider: Adds a divider line across the width of the email.
- Image: Adds an image. You can choose an image from your image library, upload a new image, or link to an image on the web.
- Button: Adds a button on the email. The button can be a link to a page on your website, or you can send them to web forms, landing pages, etc...
- Social: Call out your social media channels with this block: Facebook, Twitter, LinkedIn, YouTube, Google+, Pinterest, and Snapchat.
- Group: This block adds an image, text, and a button all in one block.
- Video: Embeds a linked video thumbnail compatible with Wistia, Vimeo and YouTube.
- Signature: Merges the signature from your user profile.
- HTML: This block allows you to inject custom HTML into the email.
Floating Text Bar
Edit text more easily with a floating text bar editor. This allows you edit a tall block of text without having to scroll up and down to access the tools needed for editing.
The toolbar tucks away when the textbox is no longer in sight and re-appears when the text block scrolls into view. To see the new feature, just click inside a text block in the Email Builder.
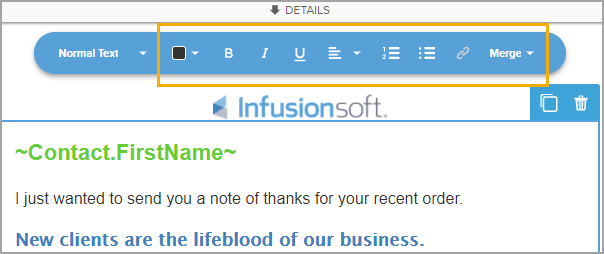
- Change the font color
- Bold
- Italic
- Align Text
- Numbered List
- Bulleted List
- Create a Hyperlink
- Add a Merge Field
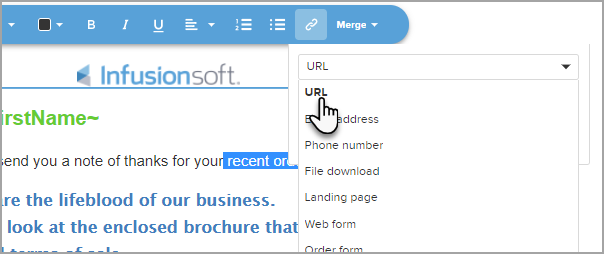
Hyperlink Types
A hyperlink can be added to text, image, and a button. Here is a list of all hyper link types.
- URL: Sends them to the web page of your choice.
- Email Address: This is a "mailto" link which opens the recipients default email client when they click on it.
- Phone Number: Adds a phone number link which can be interacted with on a mobile device.
- File Download: Adds a download link from your filebox. You can also uplaod a new file.
- Web Form: Choose from a list of Web Forms that you have created. When the recipient clicks the button, they will be redirected to the form.
- Landing Page: Choose from a list of Landing Pages that you have created. When the recipient clicks the button, they will be redirected to the landing page.
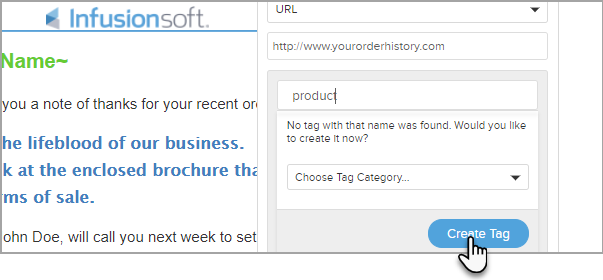
Add tag to Hyperlink Text
Highlight text
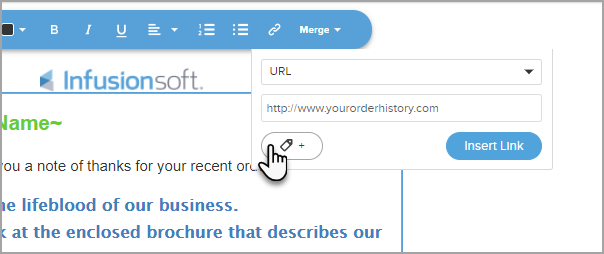
- Click paperclip
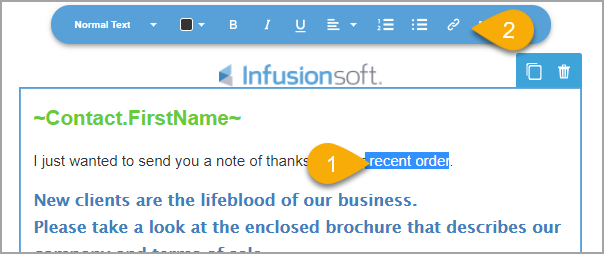
- Select hyperlink type
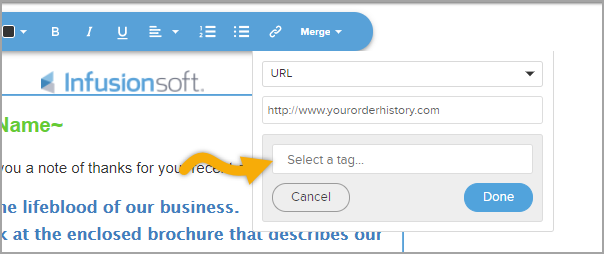
- Click tag
- Select a existing tag or create a tag


Remove Double Spacing
A double space is automatically applied when hitting "return" in the text box. Hold Shift when hitting enter to remove the double spacing.

Spacer Block
Add padding between blocks using the Spacer block and adjusting the height.

Divider Block
Add a divider between blocks, adjust the width, and/or color.
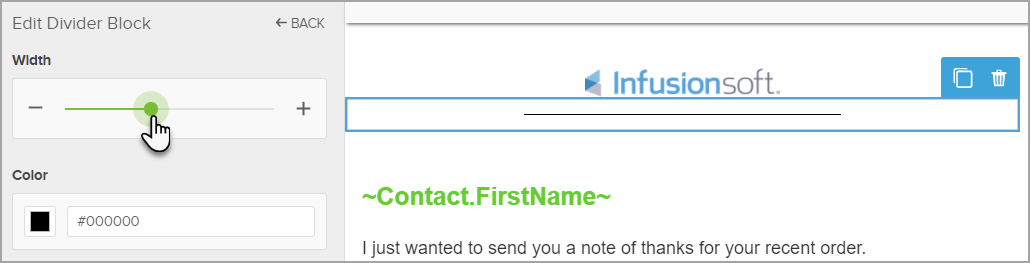
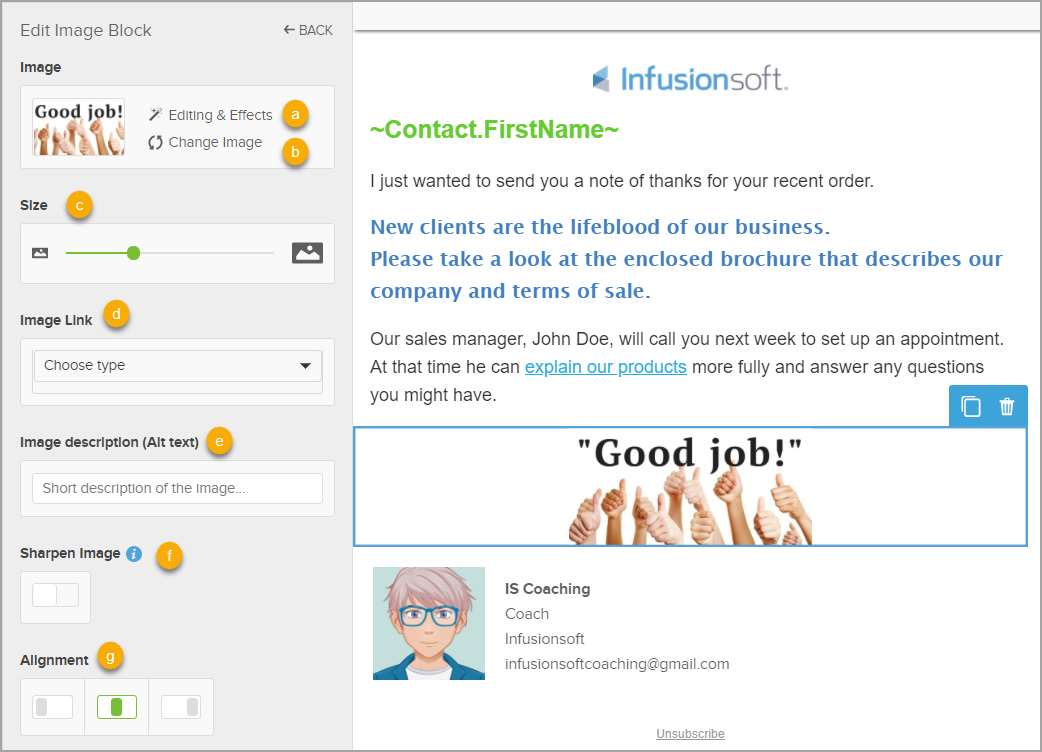
Image Block
a. Upload an image from your computer
b. Browser previously uploaded images
c. Use a image URL instead of uploading from your computer.

a. Add effects directly through the Email Builder.
b. Quickly switch out images without having to delete the image block
c. Adjust the size of your image
d. Add a hyperlink
e. Having "Alt text" adds text in case the image cannot load or images are blocked through their email client
f. Optimize image rendering mode for sharpness. This may not work in all email clients and results may vary depending on the viewers screen pixel density.
g. Select which side of the image block to align your image (left, center, right)
Button Block
Use the Button block as a call to action.
a. Add your call to action phrase. Example "Sign up for free"
b. Select your text color, font, and text size
c. Add a hyperlink
d. Select your button color
e. Select which side of the image block to align your image (left, center, right)

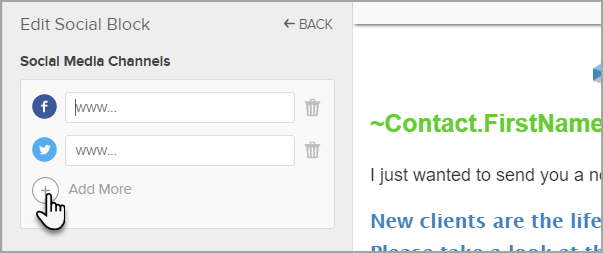
Social Media Block
Add the URL for your social media channels. By default Facebook and Twitter automatically show as options but simply click the plus sign to select additional channels.

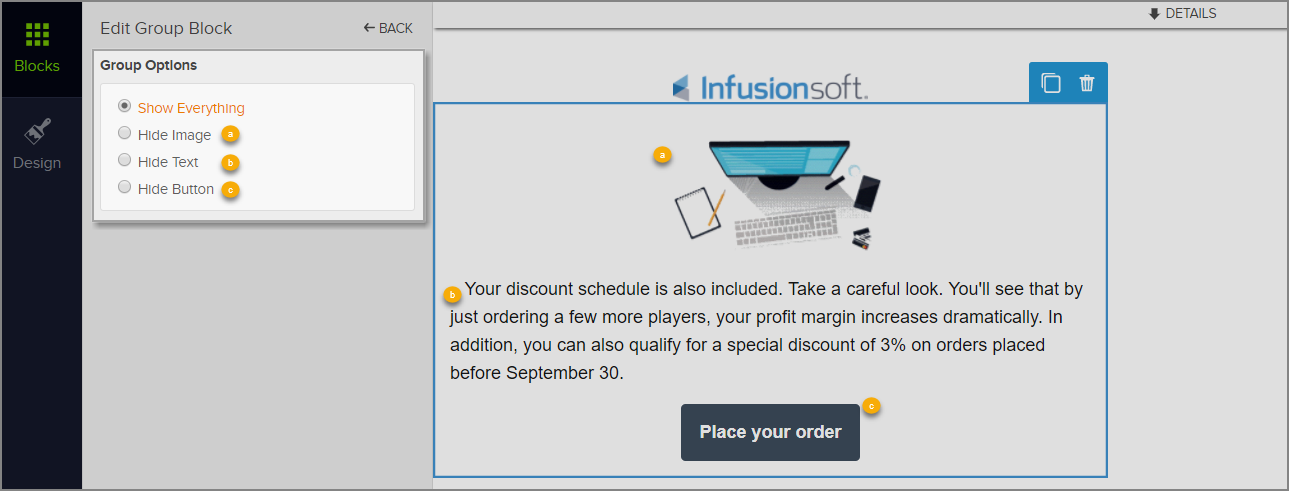
Group Block
The group block lets you quickly add an Image, text, and button all at once. You can also hide one of the elements.
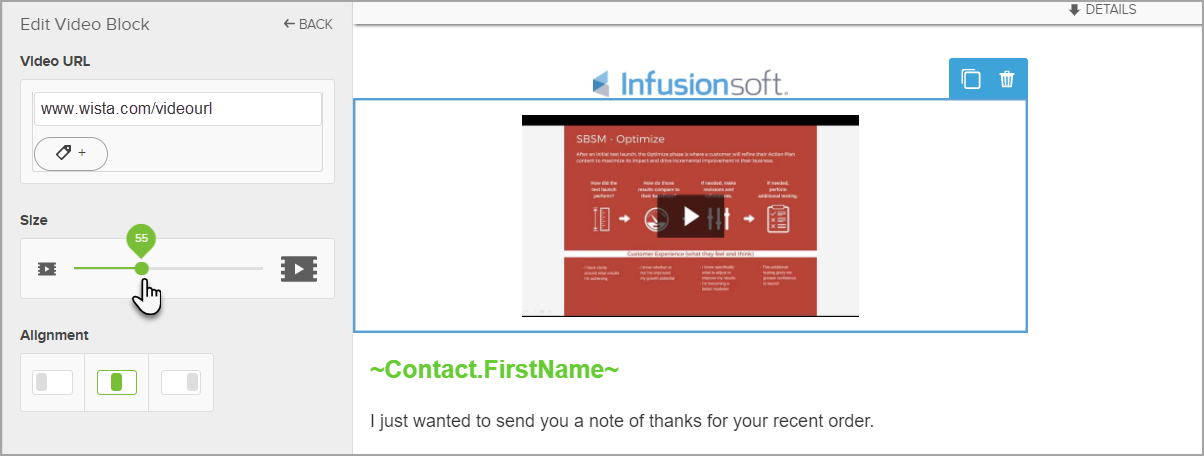
Video Block
Using the video block doesn't play the video in the email body but links to the video. Paste URL from Wistia, YouTube or Vimeo, adjust the size of the Video thumbnail, and assign the alignment.
Signature Block
You can select any user and have their signature display in the email body. You can also edit the signature directly through the email builder and it will update in all the emails currently using the signature. To learn more click here.

HTML Block
Add simple html coding to add extra elements to your email. If you have more advance coding you can also create the email in HTML code.
The following HTML tags will be removed for compatibility:
- Comments
- Input, Select, Button and Textarea Elements
- Forms
- JavaScript
- Embedded Video

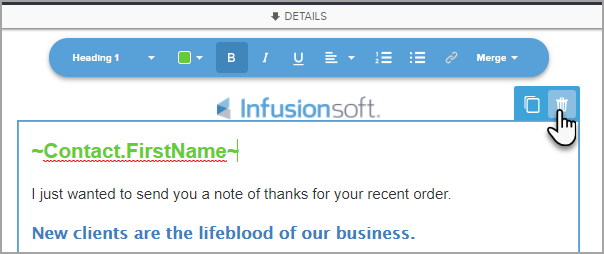
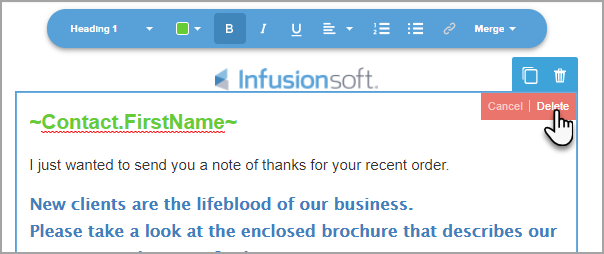
Delete Blocks
Each block as an option to delete. Simply click the block and the trashcan in the right corner.

Duplicate Blocks
Each block as an option to duplicate. Simply click the block and then the double squares in the right corner.
FAQ
Currently, the way Keap stores data for the Template Builder is separate to the content actually sent. This means that once 16MB of content is reached URLs in the template no longer show up in the Builder. Although the urls do not show in the Template Builder, the email content itself will contain the correct URLs once sent. This is a rare case and emails of this size are not recommended. There is a limit of 10MB max email size that we will send, we allow this size to be larger in the Builder as we do compress the HTML content (so 16MB in the Builder does not mean the emails generated will be 16MB). Regardless, most providers will simply send emails this size to the junk folder. Best practices recommend that the email content fit to 2 screen lengths of a mobile phone (roughly) and for more info add URLs to a website.