Use Tags to organize and group your contact records. With Tags you can filter your contacts, create customized segmentation and lists, and track the metrics of your custom segments over time.
There is no limit to the amount of tags you can create, however you may notice some performance issues in tag-related menus after creating more than 1,000 tags.
Create a Tag
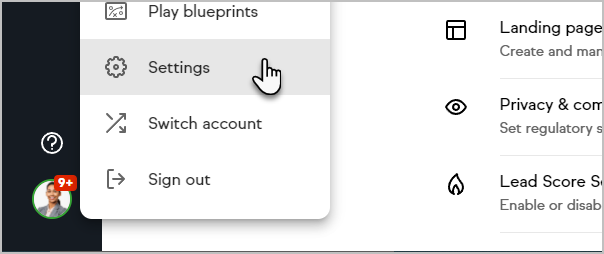
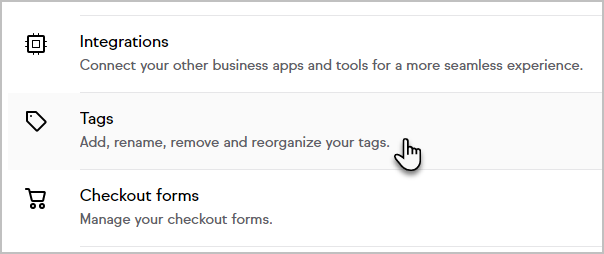
- Click your avatar and click Settings
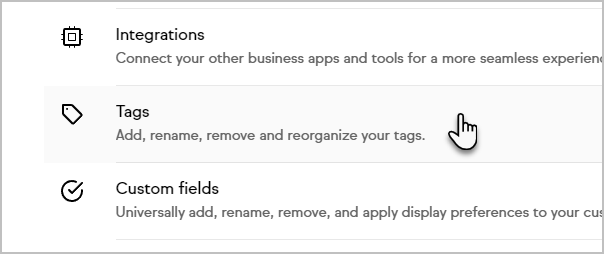
- Click Tags
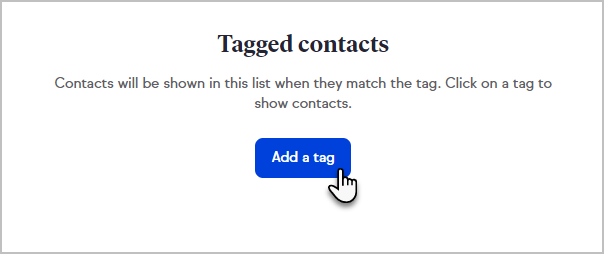
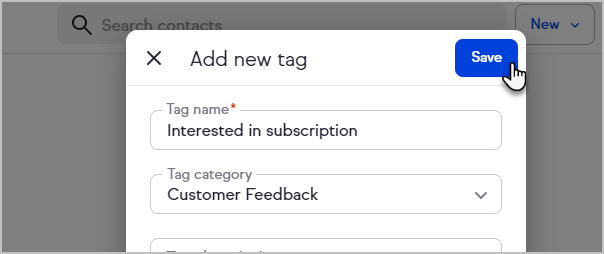
- Click Add a tag or the + button
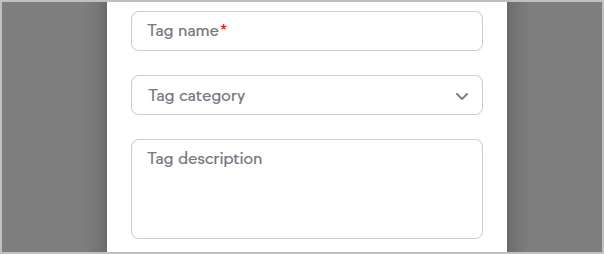
- Enter a tag name, category, and description
- Click Save


Manage tags on a contact record
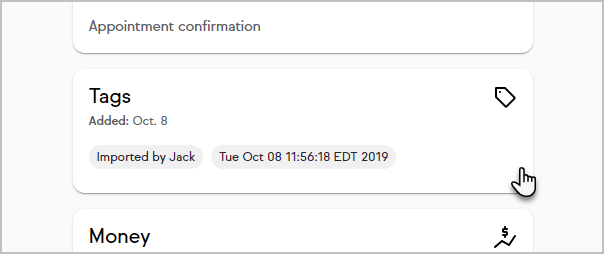
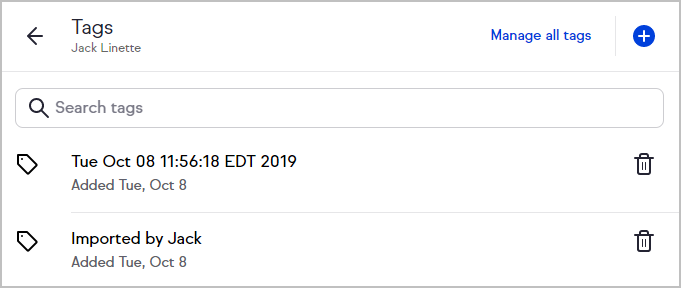
- Navigate to the contact you want to edit and click the Tag card
- You can search for tags applied to the contact, add a new or existing tag, or delete tags.


Manage tags via Settings
- Click your avatar and click Settings
- Click Tags
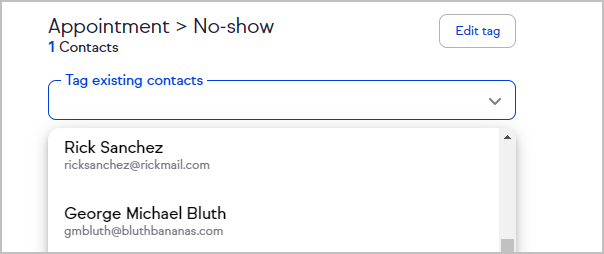
- Select your desired tag from the list on the left side of the screen.
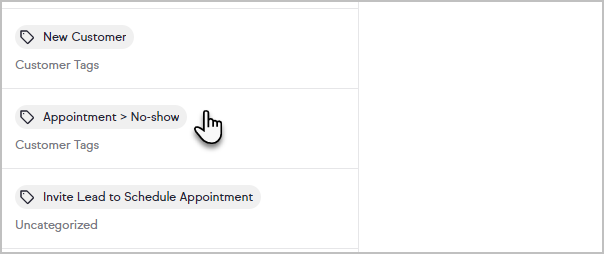
- This will display a list of contacts with the selected tag.
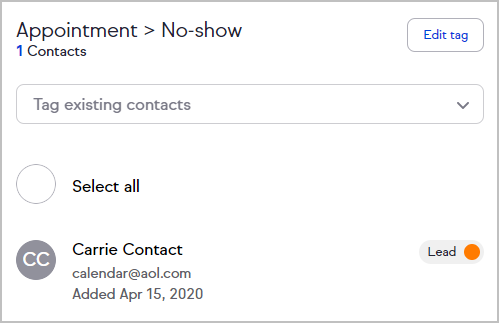
- Click the Tag existing contacts drop-down to add the selected tag to additional contacts. Once the contact is selected from the list, the tag will be applied.