Overview
The Contacts tab is where you manage your total list of contacts in your Keap application. You can filter your contacts and create custom lists of contacts based on commonalities in field data and tags,
- Click "Contacts" from the left hand navigation menu
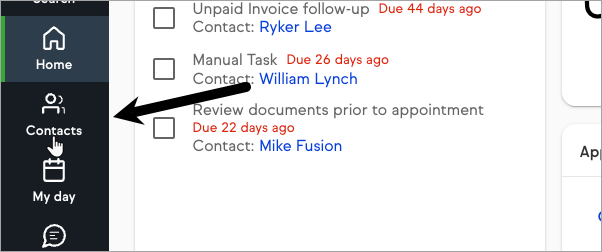
- The "Contact" section of your Keap application opens. Your total list of contacts displays in the column on the left


Add Contacts
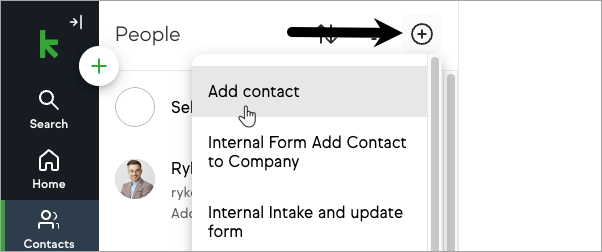
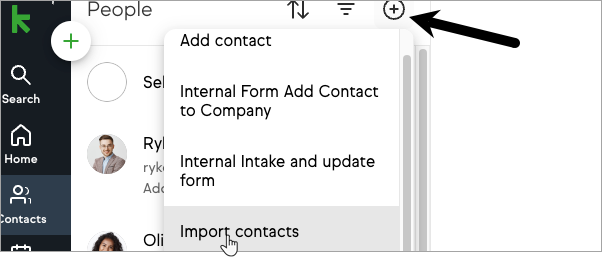
- Click the "+" icon and click "Add contact" to add a new contact
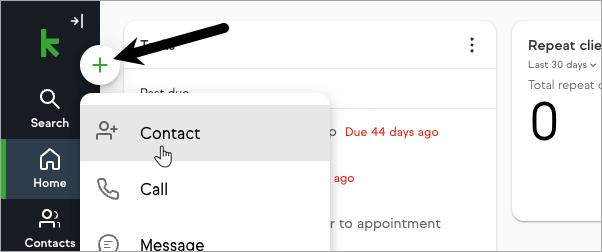
- Click the "+" button (Global actions button) on the top navigation bar and click "Contact" to add a new contact.
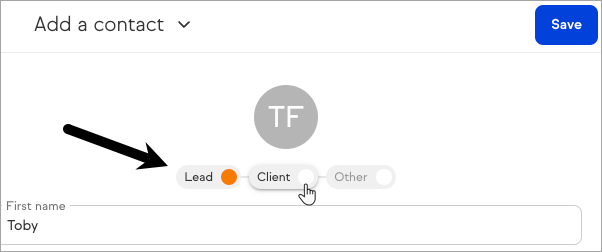
- Fill in the form fields, select a contact type (Lead, Customer, Other)
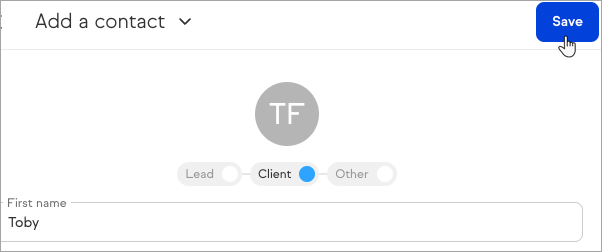
- Click "Save"


Import Contacts
- To import contacts from the "Contacts" area, click the "+" icon followed by "Import contacts"
 OR click the "Import Contacts" button on the right.
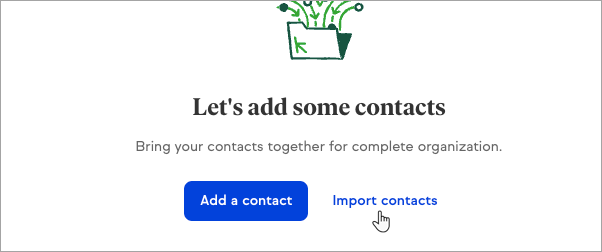
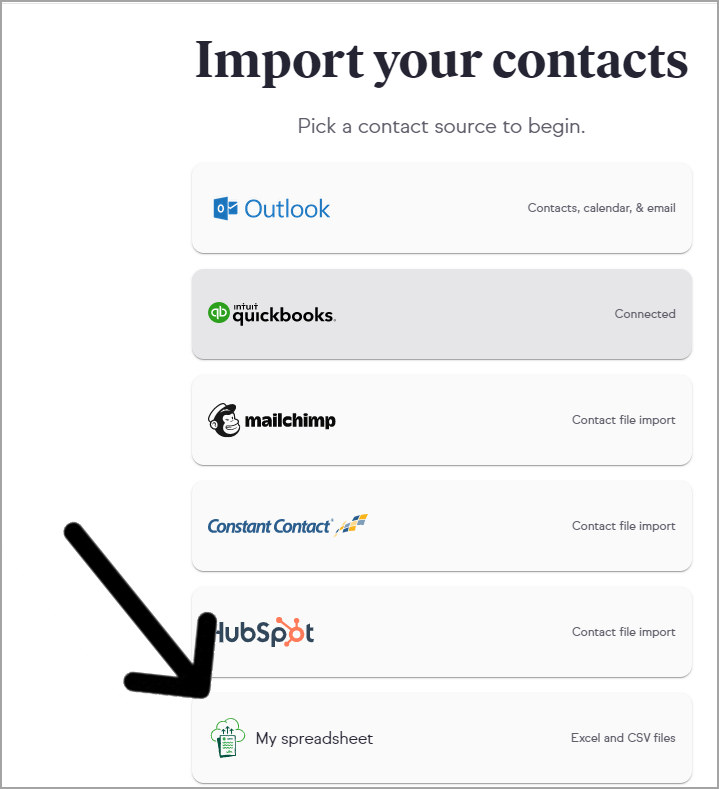
- If you are importing from Outlook, QuickBooks, or Hubspot, Click the appropriate name tab and follow the steps. If you are importing an Excel or .CSV file, click My spreadsheet.
 OR click the "Import Contacts" button on the right.

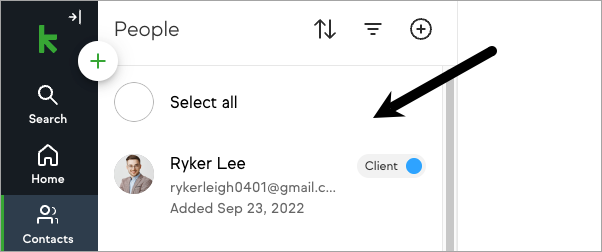
Open a Contact Record
Click on a contact record in the left hand column to view that contact record.
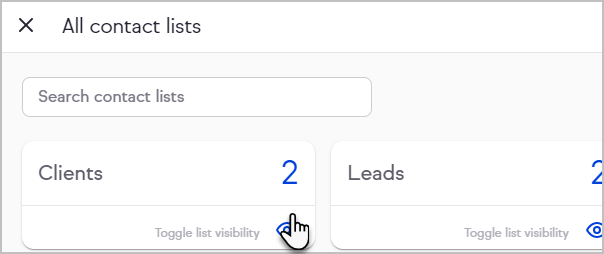
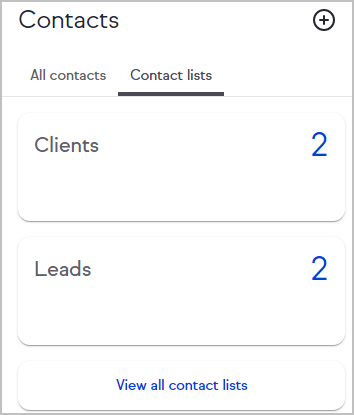
Contact Lists
Each Keap application comes default contact lists and includes the ability to create custom lists. The Clients list collects all of your contacts who you have identified with the Client type and the Leads list collects all of your contacts who you have identified with the Lead type.
Filter Contacts & Create Lists
To learn how to filter your contacts and create custom contact lists, refer to this article.
Mass Actions for Contact List
- Click the Select all to select every contact on the list for a mass action OR click the contact icon to the right of individual contacts to select for a mass action.
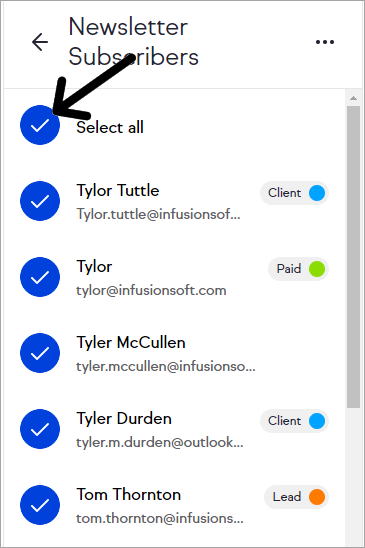
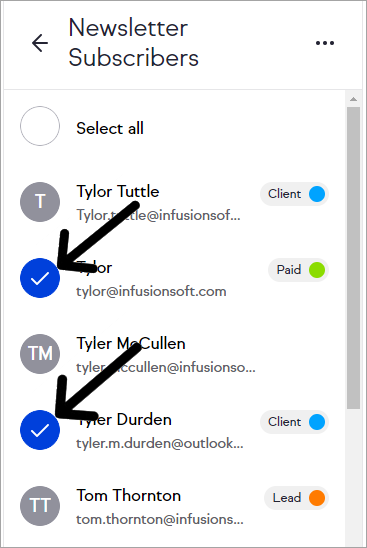
- Mass actions for your contact list are at the bottom of the page and include: Tag, Send broadcast, Add to automation, Export, and Delete.


Hide or Show a Contact List
- Click View all contact lists
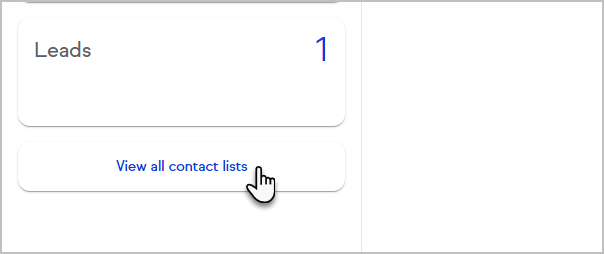
- Click Toggle list visibility