You can create custom fields for your contact and company records. Keap Lite and Pro customers can create up to 100 custom fields for contact records, while Keap Max customers can create 150 contact custom fields. All customers can also create up to 100 custom company fields that are distinct from your contact custom fields.
The field type you choose should correspond with the type of data you want to store in a way that satisfies your end goal for the data (i.e. reporting, merge field, etc.).
Access Custom Fields Management
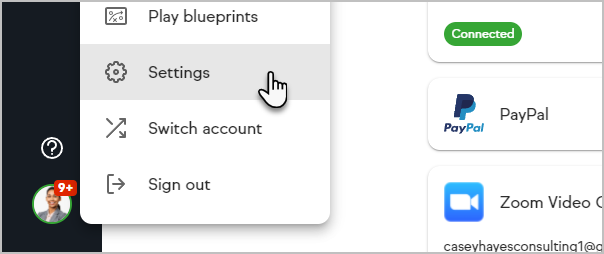
Click on your user avatar and choose Settings
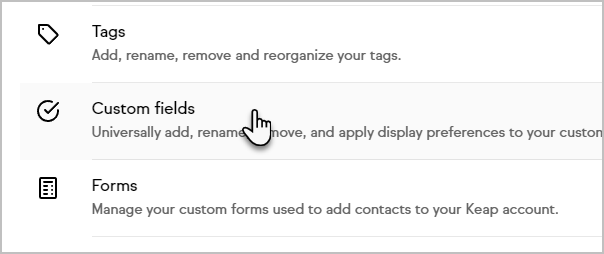
Click Custom fields in the settings options
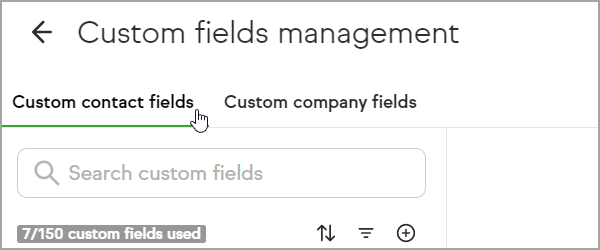
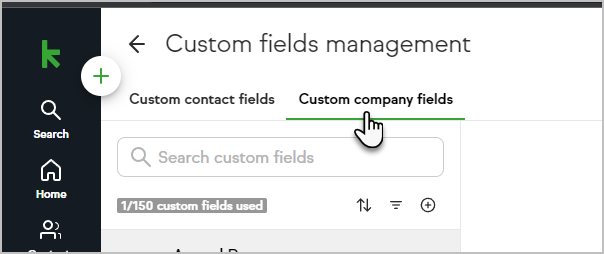
Select if you want to manage your contact or company custom fields


Create and add a custom contact field
From the custom fields management page click the
 icon above the list of custom fields
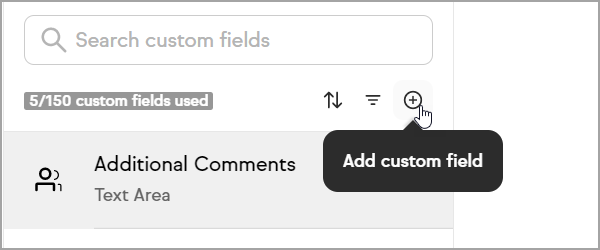
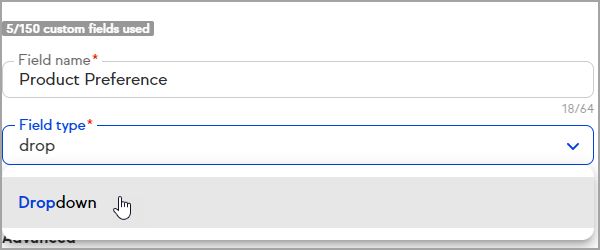
Name your custom field
Select your custom field type
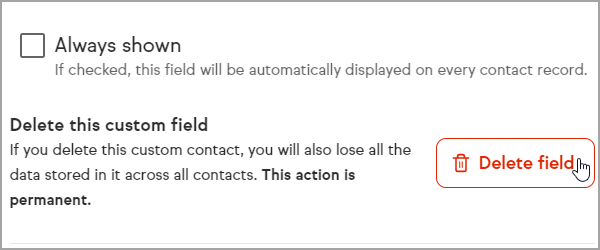
Select if you want the custom field to always be visible on all contacts in the edit view (otherwise it will need to be added to a contact manually)
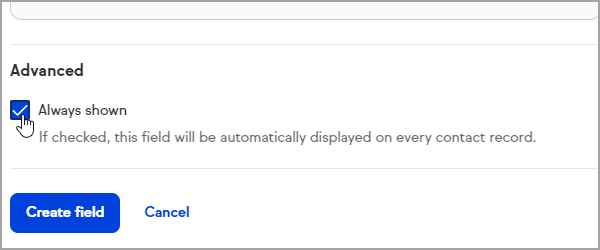
Click Create field


Organize custom contact fields
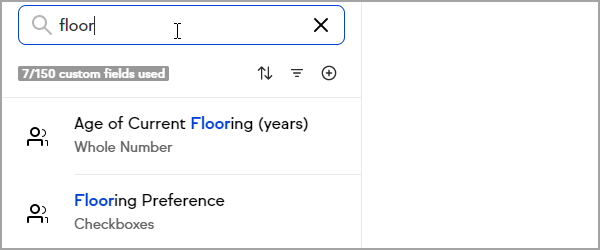
You can search for custom fields by adding keywords to the search area
Click the
 icon to organize your custom fields alphabetically or reverse alphabetically and group by field type
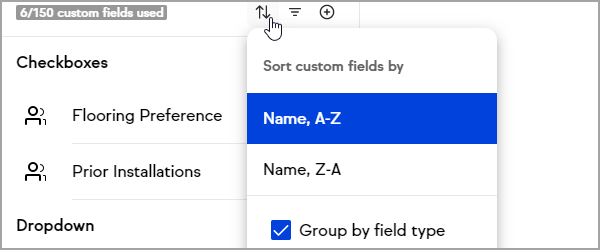
The
 icon allows you to choose which field types appear in the list of custom fields within the customer field manager
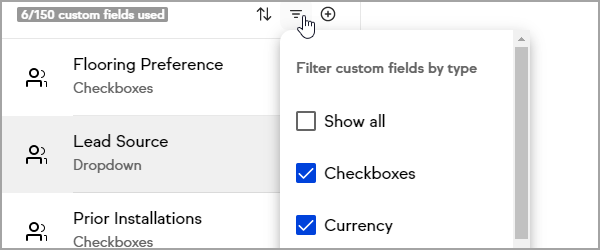


Edit a custom contact field
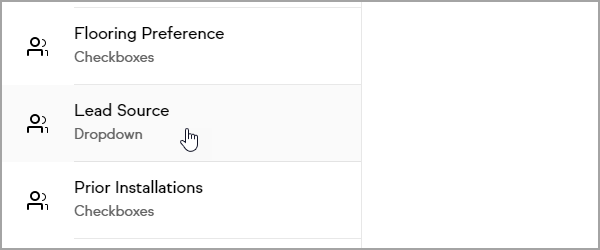
Select the custom field you want to edit
Decide what details you want to edit on the custom field
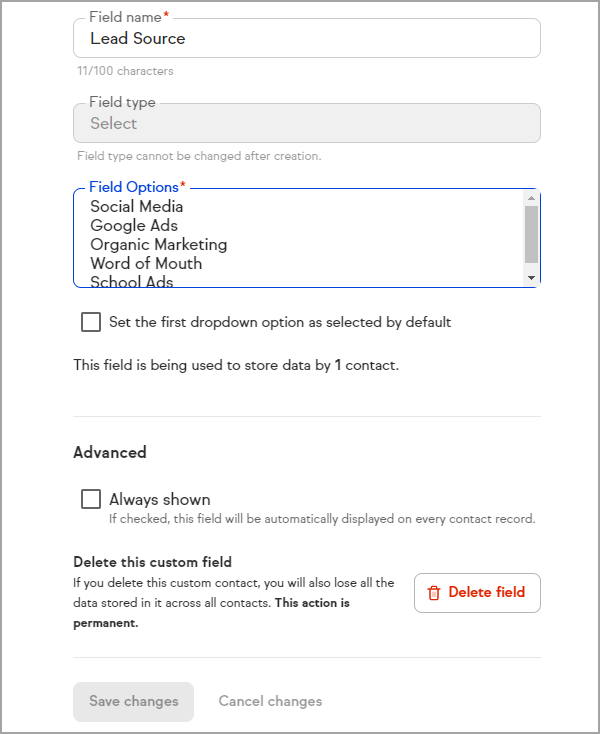
Edit the custom field
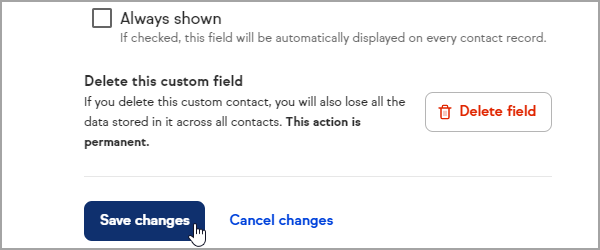
Click Save changes


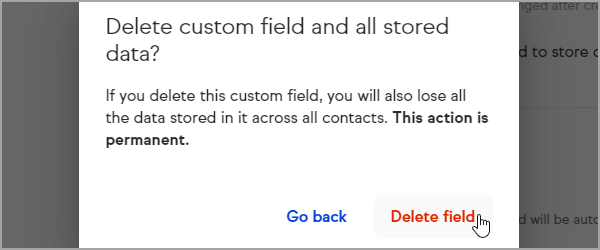
Delete a custom contact field
Warning: This will delete the field and any data it contained for your contacts. Consider how many contacts are using this field before deleting.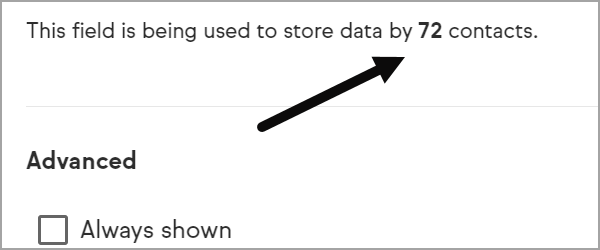
Select the custom field you want to delete
Click Delete field
Confirm by clicking Delete field again